An MCP server that gives Claude Code, Claude Desktop and Cursor image generation powered by the Meta Muse model — and returns file paths instead of base64, so your context window survives.
一個 MCP server,讓 Claude Code、Claude Desktop 與 Cursor 用 Meta Muse 模型生圖。回傳的是檔案路徑而不是 base64,你的 context 不會被圖片吃光。
The three tools differ in one thing that matters more than the rest: whether the model remembers what you said last turn.
三個工具最關鍵的差別只有一個:模型記不記得你上一輪說過什麼。
generate_image
Starting from nothing從零開始
Text in, images out. Use it for the first image of anything — and when you want several takes at once, since it's the only mode that returns up to 10 in a single call.
Hand it an existing image — a local path or a URL — plus a full description of the change. Each call stands alone, so it's the right choice when you can state the target precisely. Multiple inputs compose into one scene.
The only mode with memory. Say warmer, then too much, back off, and it knows what you're talking about. Use it when you can't yet describe the destination, only the direction.
A practical rule.
If you can write the finished result down in one sentence, use edit_image — it's cheaper to reason about and every call is reproducible. If you'd only know it when you see it, use iterate_image and talk your way there one nudge at a time.
Both pairs below came out of this server while this page was being built. They show the difference the comparison table above can only assert.
下面兩組都是做這個頁面時,用這台 server 當場生出來的。上面那張表只能用講的,這裡直接看得到差別。
edit_image — same frame, different light— 同一個畫面,換掉光線
generate_imageA weathered brass compass resting on an unfolded antique nautical map, warm afternoon window light, shallow depth of field, photographic still lifeedit_imageChange the warm afternoon light to cold blue moonlight, and add a light mist drifting over the map
One generate_image call, then one edit_image call against its result. The composition, the objects, the camera angle — all survive. Only the light changes, because that's all the instruction asked for.
iterate_image — same conversation, new interpretation— 同一段對話,重新詮釋
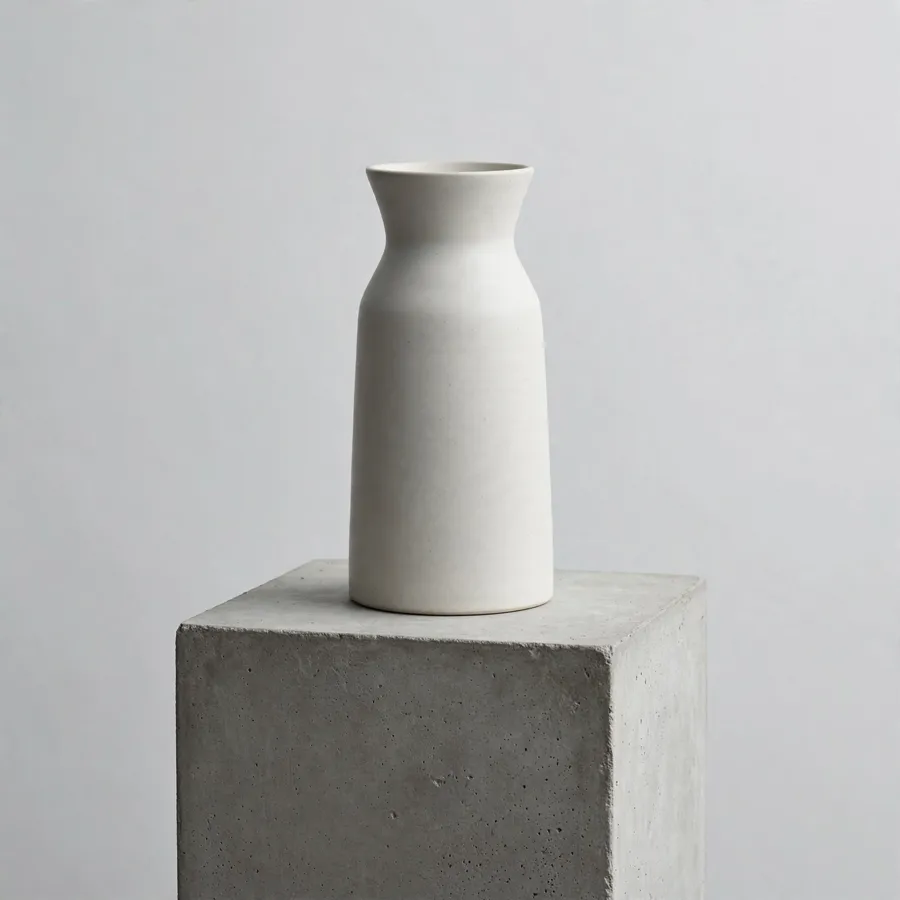
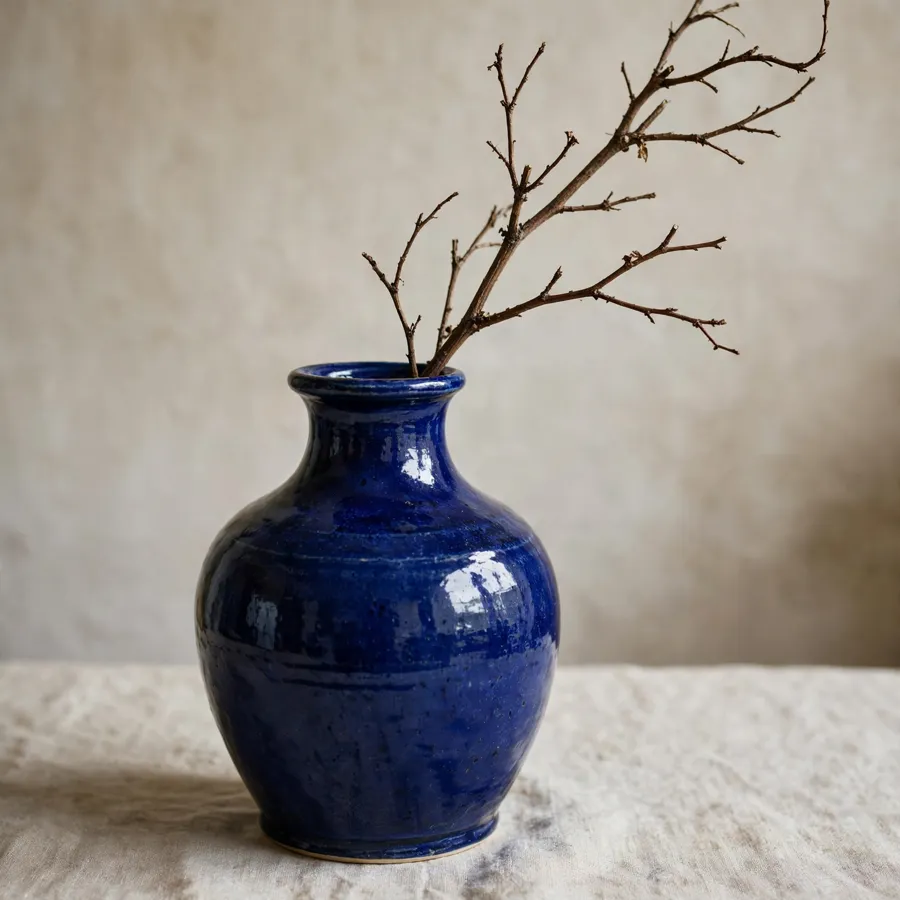
turn 1A minimalist ceramic vase on a concrete pedestal, soft overcast daylight, clean studio backgroundturn 2Make the vase deep cobalt blue and add a single dried branch
Turn 2 sent one sentence and no image — just the id from turn 1. Notice what changed: not only the colour and the branch, but the vase's shape, the surface it stands on, the whole background. That's the honest difference between the two modes. edit_image preserves the frame; iterate_image continues the conversation and re-renders the scene. Reach for iterate when you're still exploring, and for edit once you know exactly what you want changed.
Every image on this page was made by this server.
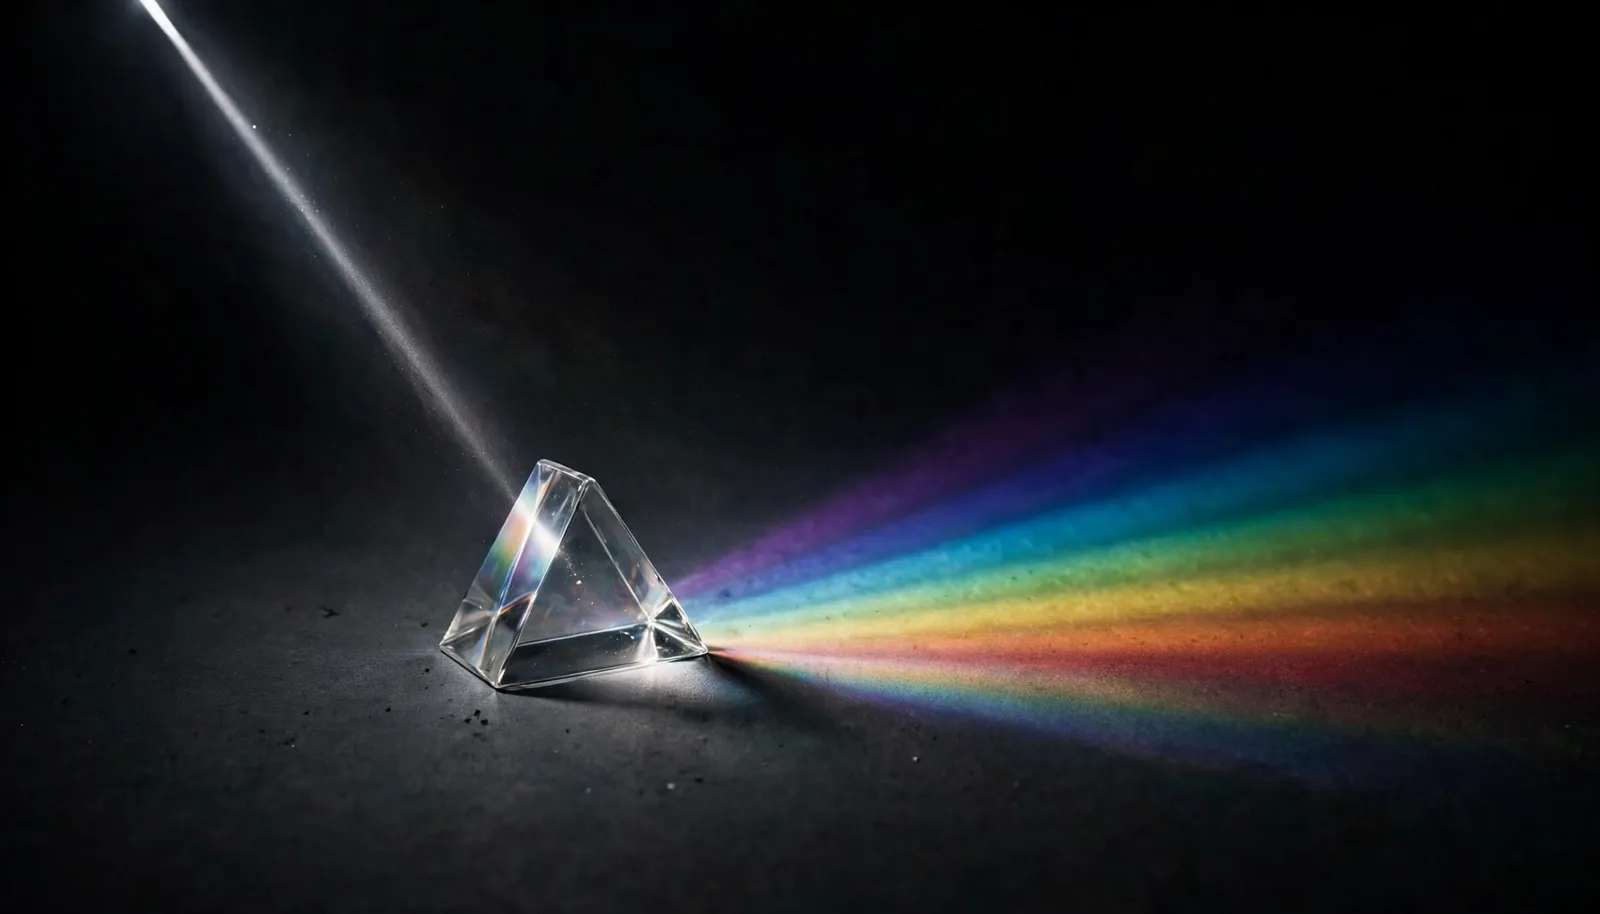
The prism at the top and all four frames here — generated during the build of this page, with the prompts printed next to them. Nothing is stock.
這個頁面上每一張圖都是這台 server 生的。
最上面的稜鏡,以及這裡的四張,都是做這頁時當場生成的,prompt 就印在圖旁邊。沒有一張是圖庫素材。
In practice實際用起來
How you actually ask for an image
你實際上是怎麼要一張圖的
You don't call the tool. You say what you want, and the agent picks the tool, fills the parameters, and hands you back a path on disk.
你不會去呼叫工具。你只要說你要什麼,Agent 會自己挑工具、填參數,然後把一個檔案路徑交回給你。
claude code — muse-image connected
you
Make me a wide hero image of a glass prism splitting light on a dark surface.
幫我做一張寬幅的主視覺,深色檯面上的玻璃稜鏡把光分成光譜。
claude
generate_image({
prompt: "A single translucent glass prism ... soft spectrum",
size: "1792x1024"
})
已生成 1 張圖片:
1. D:\project\generated-images\muse-20260912-153810-1.png
預估成本:US$0.01(1 張 x US$0.01)
you
Cooler. Make it moonlight instead, and add some mist.
冷一點,改成月光,再加一點霧氣。
claude
edit_image({
images: ["D:\\project\\generated-images\\muse-20260912-153810-1.png"],
prompt: "Change the warm light to cold blue moonlight, add a light mist"
})
Paths, not pixels.
The agent gets a file path back — a single line of context — and reads the image only if it actually needs to look at it. Generating twenty images costs you twenty lines, not twenty megabytes of base64.
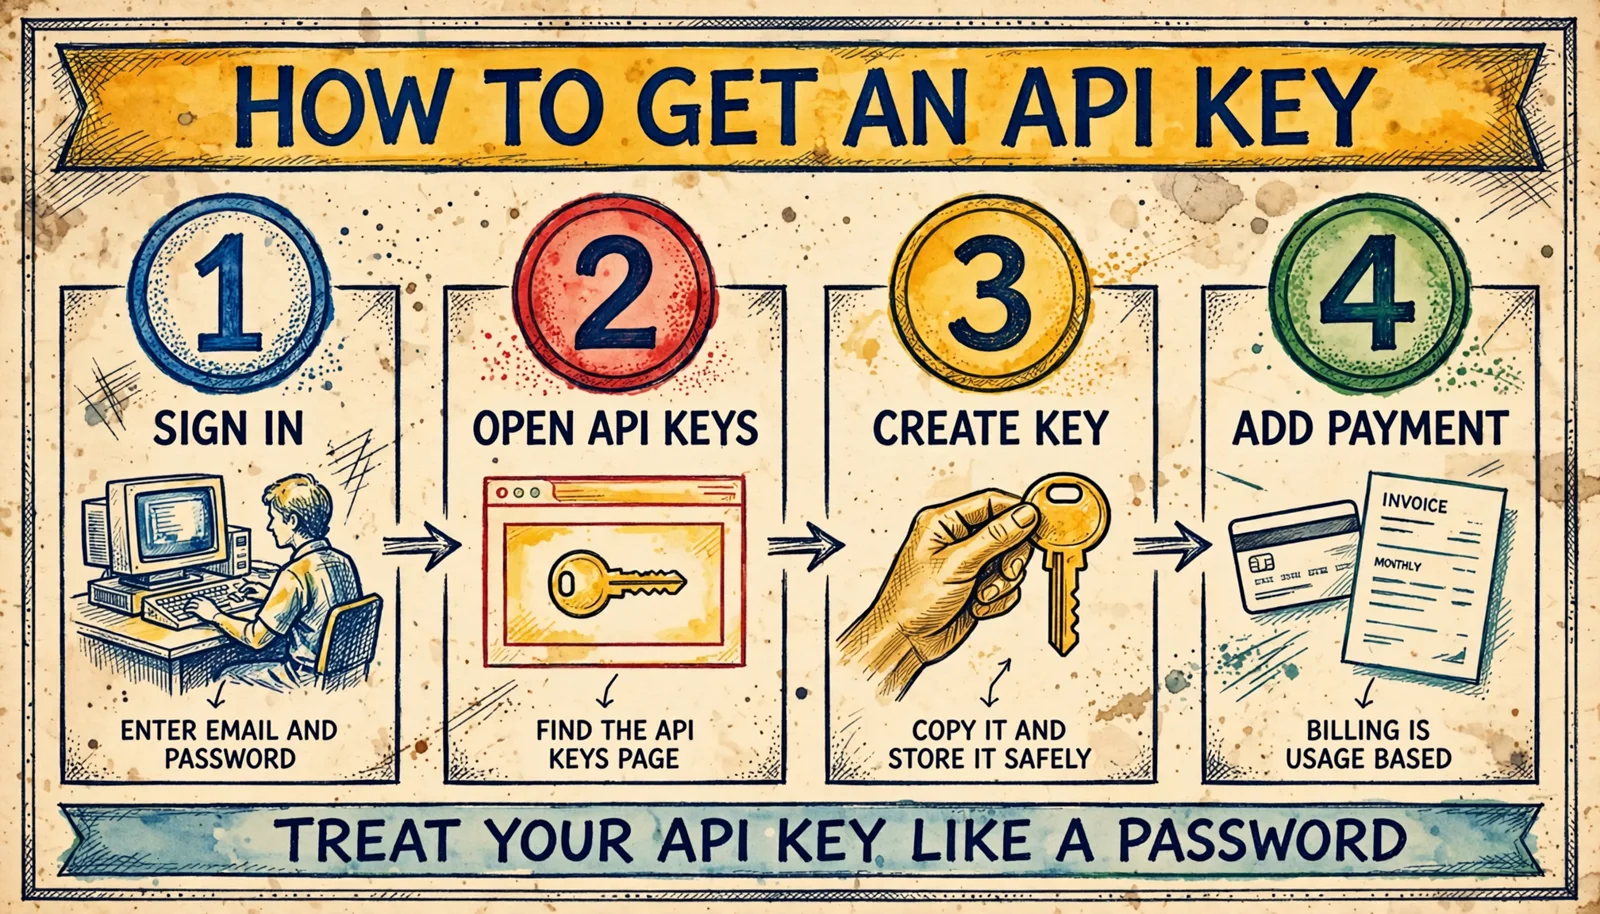
Two steps, both inside the same conversation: let Claude Code write the explanation first, then have it draw the result. The poster below was made exactly this way.
兩個步驟,都在同一段對話裡完成:先讓 Claude Code 把說明寫清楚,再請它畫出來。下面那張圖就是這樣做出來的。
Ask for the explanation
先要一份說明
Claude Code already knows the registration flow from this project's README, so it writes the steps rather than inventing them.
Claude Code 已經從這個專案的 README 讀過註冊流程,所以它是照著寫,而不是自己編。
you — Summarise how to get a Muse API key as four numbered steps, one line each.
你 — 把申請 Muse API key 的流程整理成四個步驟,每步一行。
Ask for the diagram
再要一張圖
Name a visual style and the agent turns those steps into a prompt for you. Here the ask was for the look of an old popular-science encyclopedia.
指定一種視覺風格,Agent 會把剛才那些步驟轉成 prompt。這裡要的是舊科普讀物那種插畫感。
you — Now draw those four steps as one diagram, in the style of an old popular-science encyclopedia.
你 — 把這四個步驟畫成一張圖解,用《十萬個為什麼》那種老科普讀物的插畫風格。
generate_image({
prompt: "A horizontal infographic poster,
1980s popular-science encyclopedia style.
Panel 3, badge 3, heading CREATE KEY,
a hand holding a golden key, annotation
reading: COPY IT AND STORE IT SAFELY.
... Use only the words listed above.",
size: "1792x1024"
})
generate_imageOne call, one image, US$0.01. Click to view full size.一次呼叫、一張圖,US$0.01。點擊可看原圖。
Install安裝
One line, no clone
一行指令,不必 clone
Published on npm. npx fetches and runs it on demand — there is nothing to install first.
已發佈到 npm。npx 會在需要時自動抓下來執行,不必先安裝任何東西。
Check your Node version
確認 Node 版本
This server uses Node's built-in process.loadEnvFile(), so anything below 20.12.0 fails at startup.
這個 server 用到 Node 內建的 process.loadEnvFile(),低於 20.12.0 會在啟動時就失敗。
SHELL
node -v
Get a Meta Muse API key
取得 Meta Muse API key
The key is the only required setting. Muse Image runs on the Meta Model API, so you register there, not with this project:
金鑰是唯一必填的設定。Muse Image 跑在 Meta Model API 上,所以你是向 Meta 註冊,不是向本專案註冊:
Go to dev.meta.ai and sign in to the Meta Model API dashboard.
Open API keys.
Click Create API key and copy it — this is the value you pass as MUSE_API_KEY.
A card comes first.
Meta wants a payment method on file before it will issue a key. Usage is priced in US dollars, but you're invoiced in your local billing currency, and the threshold follows that currency — on a Taiwan account it's NT$600. Charges then land on whichever arrives first: hitting that balance, or the monthly close. Meta doesn't publish this in its public docs, so check the figure shown in your own console.
點 Create API key 並複製產生的金鑰——這就是要填進 MUSE_API_KEY 的值。
要先綁信用卡。
Meta 要求先綁定付款方式才會發給你金鑰。用量以美金計價,但帳單走你當地的結帳幣別,門檻也跟著那個幣別走——台灣帳戶是 NT$600。之後結帳看「累積到這個金額」或「每月結一次」哪個先到。Meta 並未把這個數字寫在公開文件裡,實際門檻請以你自己後台顯示的為準。
Meta's own docs call this variable MODEL_API_KEY; this server reads it as MUSE_API_KEY, and talks to https://api.meta.ai/v1 with the model muse-image-1.0 by default. Reference: Model API docs · Image generation
Meta 官方文件把這個變數叫 MODEL_API_KEY;本 server 讀的名稱是 MUSE_API_KEY,連線到 https://api.meta.ai/v1,預設模型為 muse-image-1.0。參考:Model API 文件 · 影像生成
Register the server
註冊這個 server
-y matters — without it npx stops on an interactive prompt and the handshake never completes.
-y 很重要——少了它,npx 會卡在互動詢問,握手永遠完成不了。
CLAUDE CODE
claude mcp add muse-image --scope user \
  --env MUSE_API_KEY=your-key \
  -- npx -y muse-image-mcp
For Claude Desktop or Cursor, write the config by hand instead:
Where do the images go?
By default <cwd>/generated-images, where cwd is whatever directory your client launched the server from — in Claude Code, your project root. Set MUSE_OUTPUT_DIR to an absolute path if you want them somewhere fixed.
圖片會存到哪裡?
預設是 <cwd>/generated-images,而這個 cwd 是你的 client 啟動 server 時所在的目錄——在 Claude Code 就是你的專案根目錄。想固定位置就把 MUSE_OUTPUT_DIR 設成絕對路徑。
Pricing計價
One number, and it's not ours
只有一個數字,而且不是我們收的
$0.01
per generated image, paid to Meta每張生成的圖,付給 Meta
The MCP server is free. MIT licensed, no account and no tier on our side. What you do need is a Meta API key — and Meta asks for a payment method before it will issue one.
Quality doesn't change the price.reasoning_strength: high and low cost the same — high is simply slower.
Every response tells you what it cost. The estimated cost is printed at the end of each tool result, so spend never hides in a long session.
The full smoke test costs six cents. That's the real end-to-end suite against the live API — a useful sense of scale.
MCP Server 本身免費。MIT 授權,不必向我們註冊、沒有方案分級。你需要的是一組 Meta 的 API Key,而 Meta 那邊要先綁定付款方式才會發給你。
畫質不影響價格。reasoning_strength 的 high 與 low 同價,差別只在 high 比較慢。